Prelim
First Prelim – practice of video techniques and camera tricks
Ghosting
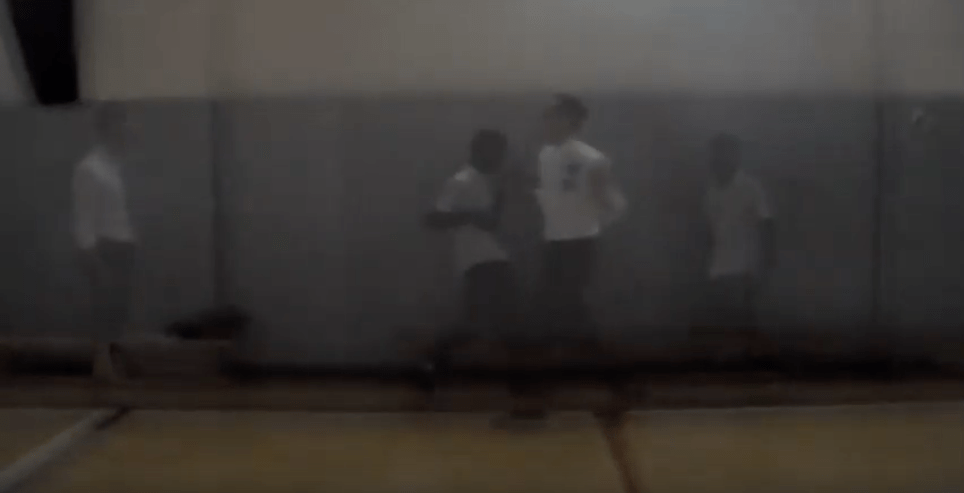
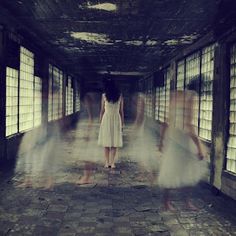
Simpler than green screen, and far lower-tech, this process places one video clip on top of another on the edit timeline, merging the two. Night-time scenes work best – for supernatural fog, UFOs or fire.
How to: Shoot your main clip, making sure much of the scene is dark (black is the easiest colour to ghost a new image on to). Then shoot the extra layered images against a black background so they stand out as bright areas in the frame. Layer the two by dropping the main clip to track one on the timeline and the extras to track two. Create a new video track if needed.
Duplicating
A neat effect, great for comedy or Matrix-style Agent Smiths, this enables you to shoot the same actor twice, merging the two clips so the actor appears to have a double in the same shot.
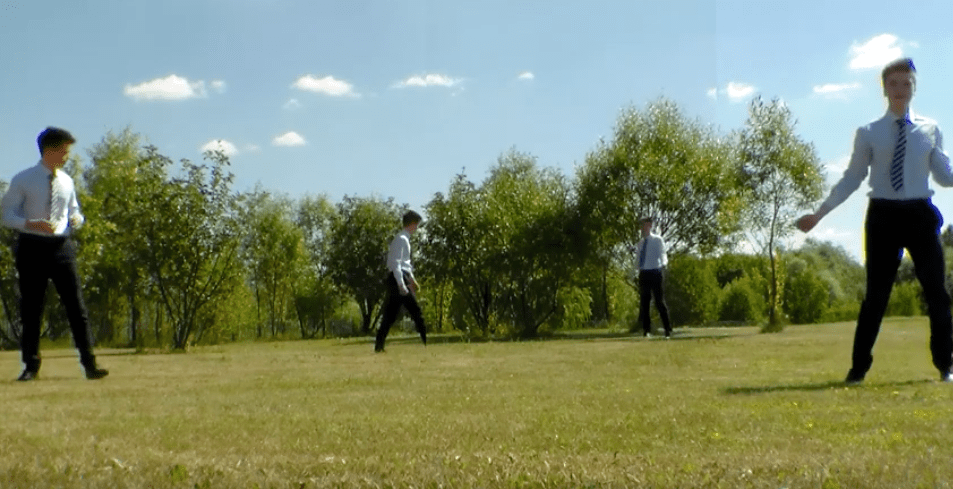
How to: You’ll need a filter on your edit software which enables you to make half the frame transparent, using “linear wipe” (you’ll find this in Adobe Premiere). Use a steady tripod and shoot against a stationary background. Shoot the left-hand action with the actor avoiding crossing into the right half of the screen. Then do the same with the right. Freeze the camcorder settings on manual so you don’t get changes in lighting between clips. Layer one above the other on the edit timeline, then select a transparency filter, dragging it on to the first clip. Adjust the filter settings so that only half the screen is invisible, and blur the edges. Then repeat on the reverse side of the clip.
Forced perspective
What’s it for? This effect is used for creating smaller or larger than life objects or people. The Hobbits in Lord of the Rings were all shot in this way, enabling the actors to interact with the location rather than just a greenscreen.
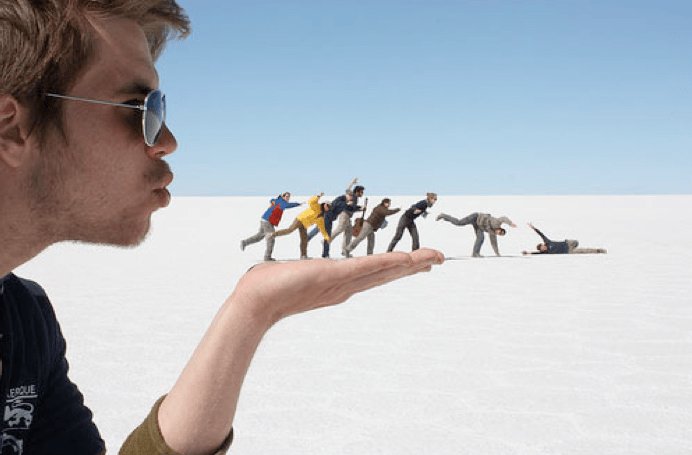
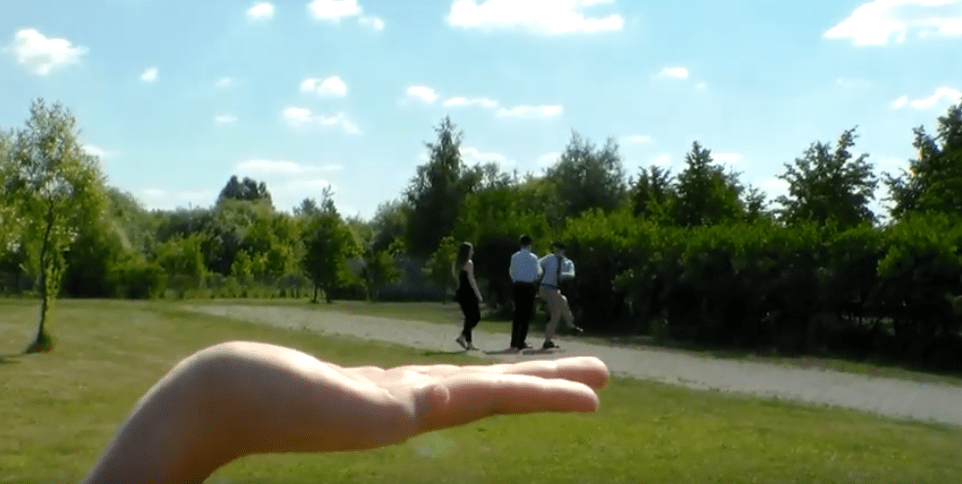
How to: To change the size of your subject, you need to merge the background and foreground elements of your scene into one picture plane. To shrink people, place the actor further away from the camera, making other objects in the scene appear closer. To make an actor appear larger, you could go to the trouble of creating a model set, or simply reverse the trick. Place the actor closer to the camera and the elements of the scene you want shrunk further away. Again, move the camera away from the action until you get both large and small elements in focus, using zoom if necessary.
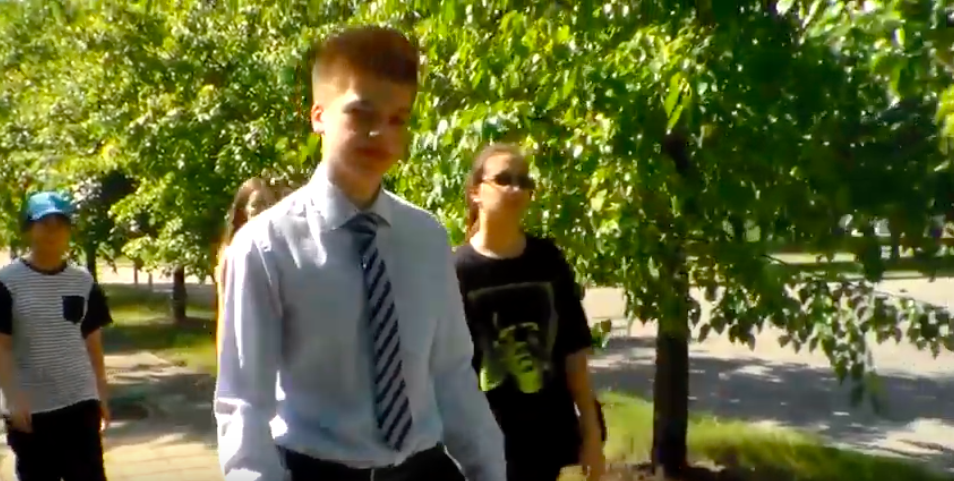
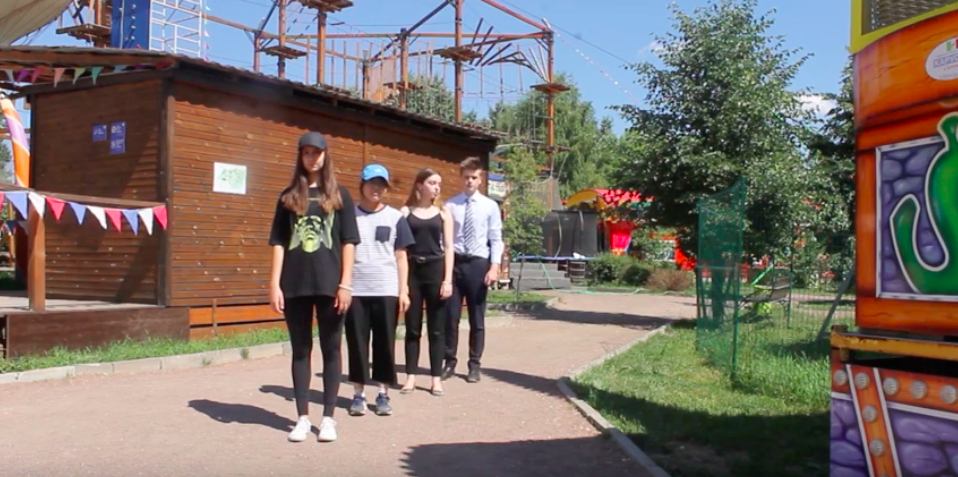
Walk backwards and reverse footage
What’s it for? A trick much seen in music promos – notably Spike Jonze’s Pharcyde video. It will show your actor walking through busy crowds or traffic, which appear to be moving backwards as he or she moves forwards. How to: Lots of rehearsal is needed here: your actor must practise walking naturally backwards. Exaggerated movements like swaggering or slouching help to offset any slip-ups. Shoot the scene with long, uncut shots to make the most of the real, no-CGI feel to it. The faster the moving background, the more dynamic the effect. On the timeline, look for a simple reverse effect, available in all software. Apply it and view.
Projector + Camera
Plug the camera into the projector with a HDMI. Point the camera at the same place as the projector, they repeat each other and you get a hall of mirrors like effect. Make shadow puppetry and the the effect is a 1970’s psychedelic looking video.
Jump Cut (stop frame)
An abrupt transition from one scene to another. Can be used to ‘jolt’ or disarm the audience. Used in horror movies to scare audiences and can be used to trick an audience. Mostly seen as a mistake, it has increasingly been use to add effect. Recently the jump cut has been used in films like Snatch, by Guy Richie, and Run Lola Run, by Tom Tykwer.
Georges Melies is known as the father of the jump cut as a result of having discovered it accidentally, and then using it to simulate magical tricks; however, he tried to make the cut appear seamless to complement his illusions.
For the prelim we tried to use different camera techniques that we studied during the lesson.
